How to Choose the Right Louver Actuator?
Choosing the right Louver Actuator starts with the louver itself, not the product catalogue. Measure the blade area, linkage travel, and opening angle. Note whether the assembly moves freely or binds near the end of its stroke. Small details matter. A stiff linkage can demand more force than its dimensions suggest, while an oversized actuator may strain connected parts.
This guide explains how to compare torque, stroke, supply voltage, control signal, and mounting options. It also considers operating conditions, such as temperature, moisture, dust, and access for maintenance. A unit used for routine ventilation may need different features from one that supports smoke control or other critical building functions. Check the equipment documentation and applicable project requirements before choosing. Do not assume that matching voltage alone ensures compatibility.
A careful selection begins with verified measurements and the louver manufacturer’s specifications. Then confirm that the actuator fits the available space and works with the control system. Ask about manual override, position feedback, and expected operating frequency where relevant. That sounds simple. It often isn’t. Site conditions can differ from drawings, and a nominal torque rating may not reflect friction in an older assembly. Leave room for that uncertainty, and confirm the final choice with qualified technical support when the application demands it.
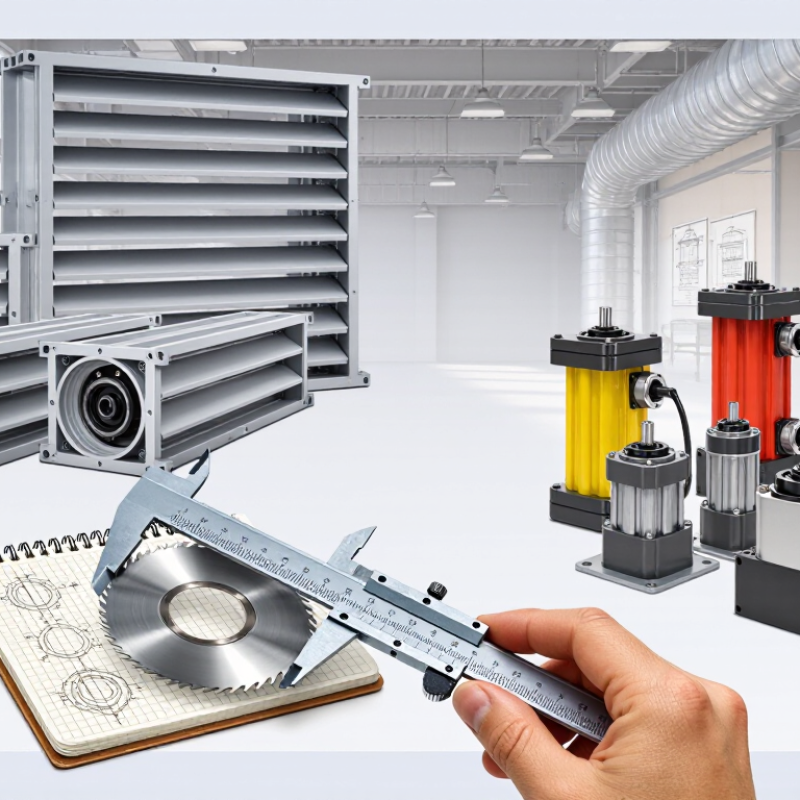
Understanding Louver Actuators and Their Operating Principles
How to Choose the Right Louver Actuator?
Understanding Louver Actuators and Their Operating Principles
A louver actuator converts an electrical or pneumatic signal into movement that opens or closes connected blades. A motor-driven model may rotate a shaft, while a linkage transfers that motion across the louver assembly. Simple on-off actuators move between two positions. Modulating types can hold intermediate positions when paired with a suitable control signal. Not magic—just coordinated motion.
The actuator must provide enough torque to overcome blade friction, airflow pressure, and linkage resistance. Blade size, louver arrangement, operating frequency, and required travel all affect selection. Check the specified torque and movement range against the actual assembly, not just the actuator’s appearance. For controlled ventilation, confirm the input signal and whether position feedback is needed. A mismatch can cause slow movement, incomplete closure, or unnecessary strain. Small installation details matter. I’ve seen alignment treated as an afterthought; it can make a capable actuator perform poorly.
Tips: Check that the linkage moves freely before connecting power. Confirm the actuator’s mounting position, voltage or air supply, and fail-safe behavior. If the louver must close during a power loss, verify that the selected mechanism actually returns it to the required position. Test the full blade travel after installation, and watch for binding near either end.
Identifying the Louver Type, Size, and Required Movement
Start by identifying how the louver operates. A fixed louver needs no actuator, while adjustable blades may move together or in opposing groups. Watch the linkage during a manual test; blade direction is not always obvious from the front. Small details matter. Note whether the assembly opens inward or outward, and check for seals, corrosion, or rubbing points that could increase resistance.
Measure the frame and blade dimensions, but do not size an actuator from panel width alone. Record the number of blades, their approximate length, and the available mounting space. Then define the required movement: a quarter-turn, a limited angle, or a specific open-and-closed position. Confirm the actuator’s rotation or linear stroke matches the linkage. Its rated output should account for friction and expected air pressure, with a suitable margin based on reliable product data. A louver that moves easily by hand may behave differently under load. This is where a clean drawing can mislead. If possible, test one representative section before ordering equipment for the full assembly. Note any uneven motion; it may signal a linkage problem, not an undersized actuator.
Selecting Actuator Power, Torque, and Control Compatibility
Choosing actuator power starts with the actual supply available at the louver, not just the voltage listed on a project sketch. Check whether the circuit provides AC or DC power, and confirm the actuator’s operating range. Then estimate the force needed to move the blades under real conditions. Blade area, linkage geometry, seal friction, and air pressure can all raise the load. A torque figure that barely meets a clean, unloaded test may struggle after installation. Measure twice.
Allow a practical margin, but avoid oversizing without reason; excessive force can strain linkages and seals. The calculation can look tidy on paper. Real dampers sometimes disagree. If possible, test movement across the full stroke and check for binding at both ends. Control compatibility matters just as much. Match the actuator to the control signal, such as on/off, floating-point, or modulating input, and verify any required feedback signal. Confirm wiring terminals, signal range, and whether a spring-return function is needed for the application. A brief site check can reveal mismatched controls before commissioning. Record the selected supply, torque basis, stroke, and control type so installers can verify the setup without guessing.
How to Choose the Right Louver Actuator?
Estimated blade torque rises with differential pressure. Use the chart as a worked example—not a substitute for measured louver torque or manufacturer data.
Example assumptions: blade area 0.25 m², center-of-pressure offset 0.04 m, and a 1.5 sizing factor. Estimated design torque = pressure differential × blade area × offset × sizing factor.
Before selecting an actuator: account for all blades driven by the linkage, friction, seals, and any required safety margin. Confirm actuator torque at the required stroke, supply voltage and power, control type (on/off or modulating), signal compatibility (such as 0–10 V), and fail-safe requirements.
Comparing Environmental Ratings, Installation, and Maintenance Needs
A louver actuator should match the conditions around the damper, not just its torque requirement.
Check the enclosure rating against dust, water spray, and likely washdown exposure. An IP rating describes specific ingress protection; it does not guarantee resistance to corrosion or extreme temperatures. For a humid plant room, inspect the actuator housing, cable entries, and mounting hardware for suitable materials. Near salt air or chemical vapors, ask the supplier for written compatibility details.
Small details matter.
Installation affects performance as much as the rating.
Confirm the actuator’s stroke and torque suit the louver, including resistance from seals and linkages. Mount it squarely, and keep the linkage clear through the full travel. A slightly misaligned bracket can cause binding that looks like an actuator fault. Leave room to reach terminals and release mechanisms; cramped access turns simple checks into awkward work.
The best installation drawing may still miss a site-specific obstruction, so verify clearances on site.
Maintenance needs depend on operating frequency and exposure.
In a dusty setting, inspect linkages for buildup and check that blades move freely. Look for loose fasteners, damaged cable glands, corrosion, and unusual noise. Set inspection intervals from actual site conditions, then adjust them when findings justify it.
This takes judgment, and the first schedule may not be right.
Keep a brief record of travel checks and repairs to spot gradual changes before a louver stops responding.
Verifying Performance and Safety Before Final Selection
How to Choose the Right Louver Actuator?
Verifying Performance and Safety Before Final Selection
A suitable actuator should move the louver through its full travel without stalling, binding, or striking the frame. Check the required torque against the louver assembly’s documented load, including pressure effects and linkage friction. A small safety margin matters. Too much capacity can also cause damage if the mechanism lacks suitable limits.
Test the actual assembly, not just a loose actuator on a bench. Run several open-and-close cycles and watch the blades for uneven movement, vibration, or delayed response. Measure travel time and confirm that end limits stop the motor reliably. If the system needs position feedback, verify that the displayed position matches the blades. A mismatch can be easy to miss.
Check what happens when power fails. The actuator should move to, or remain in, the position required by the system design. Confirm its environmental rating against the real installation: dust, moisture, temperature swings, and washdown can change performance. Also inspect wiring protection and manual access before commissioning. Do not trust a bench test alone. In practice, access is often overlooked until service is needed. That is worth reconsidering during selection. Keep test results and settings with the equipment record, so later checks have a reliable baseline.