How to Identify and Replace a Faulty Window Regulator in Your Car?
Dealing with a faulty window regulator can be frustrating. Your car's window regulator controls the movement of the window, ensuring it operates smoothly. When this component fails, it can leave you feeling vulnerable to the elements and compromise your vehicle's security.
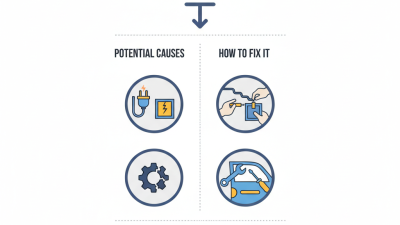
Identifying issues with the window regulator is crucial. You may notice strange noises when operating the window or the window may not move at all. Sometimes, it gets stuck in one position. These signs indicate a potential failure. Understanding how to properly assess the situation can save you time and money.
Replacing a faulty window regulator may seem daunting. However, with the right tools and a bit of patience, it can be accomplished. This task requires attention to detail and careful handling. Each step matters. Trusting your instincts, even when unsure, will guide you through the process. Remember, you might make mistakes along the way, but learning from them is part of the journey.
Understanding the Function and Importance of Window Regulators in Vehicles
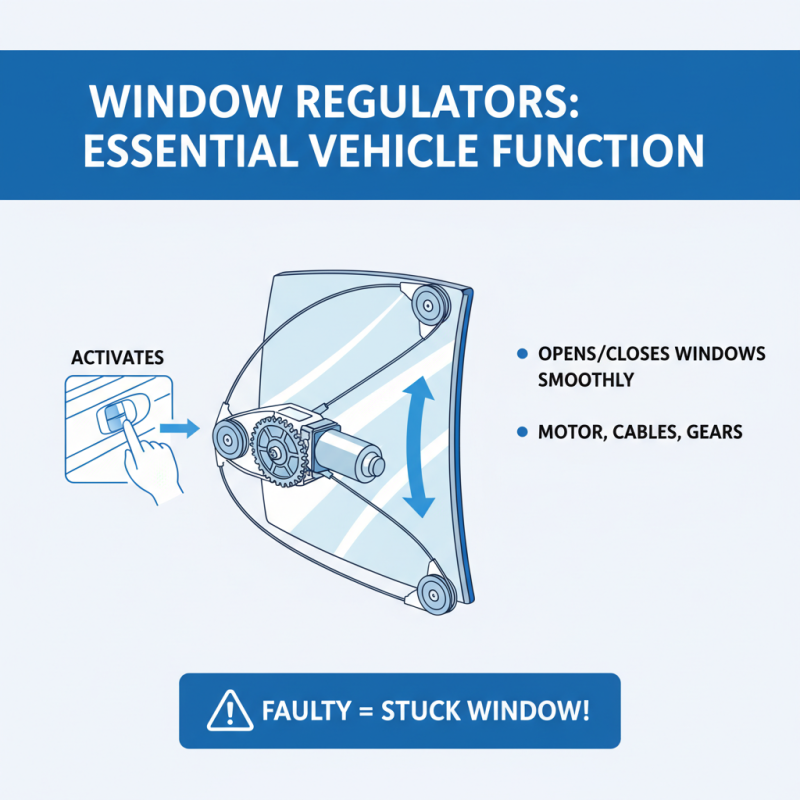
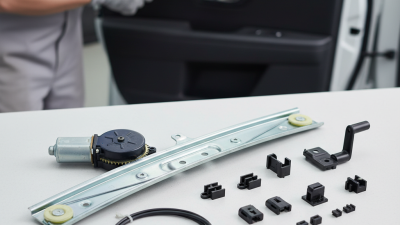
Window regulators play a crucial role in your vehicle's functionality. These devices enable the smooth operation of vehicle windows, allowing them to open and close seamlessly. They often consist of a motor, cables, and gears that work together. When you press the window switch, the regulator activates. This action is vital, as faulty regulators can trap you inside or leave your window stuck open.
Understanding the importance of window regulators can make a significant difference. A broken regulator can not only be an inconvenience but may also compromise your vehicle's security. Imagine being unable to close a window during a sudden rainstorm or leaving it open overnight. These scenarios can lead to damage or theft. Inspecting your window regulators regularly can save you from such distressing situations. Watch for any unusual noises or slow window movement, as these can be early signs of a problem.
Replacing a faulty regulator is essential for maintaining your vehicle’s comfort and safety. While this task may seem daunting, with the right guidance, it can be manageable. Knowing what to look for can make the process easier. Having the right tools is also crucial. You may need help with reassembly or disassembly. Sometimes, you might find yourself stuck. Such moments require patience and problem-solving. Taking the time to understand the regulator's function could prevent unnecessary complications later.
Common Symptoms of a Faulty Window Regulator: How to Recognize Issues
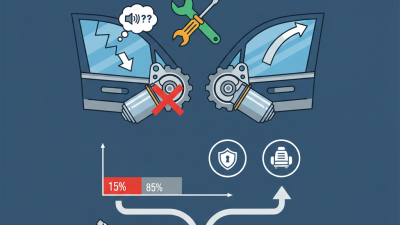
When you notice difficulties with your car windows, the issue may stem from a faulty window regulator. Common symptoms include slow movement, unusual noises, or the window not moving at all. According to recent industry reports, around 25% of car window failures are linked directly to regulator issues.
Another common sign is the window being off-track. This can leave it partially open or completely stuck. It often happens after a sudden impact or lack of maintenance. Many drivers overlook this until it becomes a major inconvenience. Regular checks can help avoid the issue altogether.
Tips: Listen carefully to your windows as you operate them. Any grinding or popping sounds could indicate a problem. If your window stops halfway, try to gently lift it. Persistent issues could mean it’s time for a replacement. Assessing the symptoms early can save you time and money on repairs later.
Tools and Equipment Needed for Replacing a Window Regulator
Replacing a faulty window regulator can be a straightforward task if you have the right tools and equipment. You will need a socket set to fit the screws and bolts of your vehicle. Screwdrivers, preferably both flathead and Phillips, are essential for removing covers and panels. A trim removal tool helps avoid damage to your car's interior. Remember, it’s better to invest in quality tools.
Don’t forget some essential safety gear. Gloves protect your hands from sharp edges. Safety glasses shield your eyes from debris. A work light is handy when you're trying to see into cramped spaces. Knee pads come in handy too; they make working on the floor more comfortable. Lay down a mat to protect your car’s surface. Always keep these items organized; losing them can be frustrating.
Before starting the replacement, ensure your new regulator matches your vehicle’s specifications. Check for any missing parts in the package. Rushing this step can lead to mistakes down the line. If you find any damage on the new part, don’t hesitate to replace it before installation. Attention to detail is key; it can save you future headaches and a lot of time.
Step-by-Step Guide to Safely Remove and Replace a Window Regulator
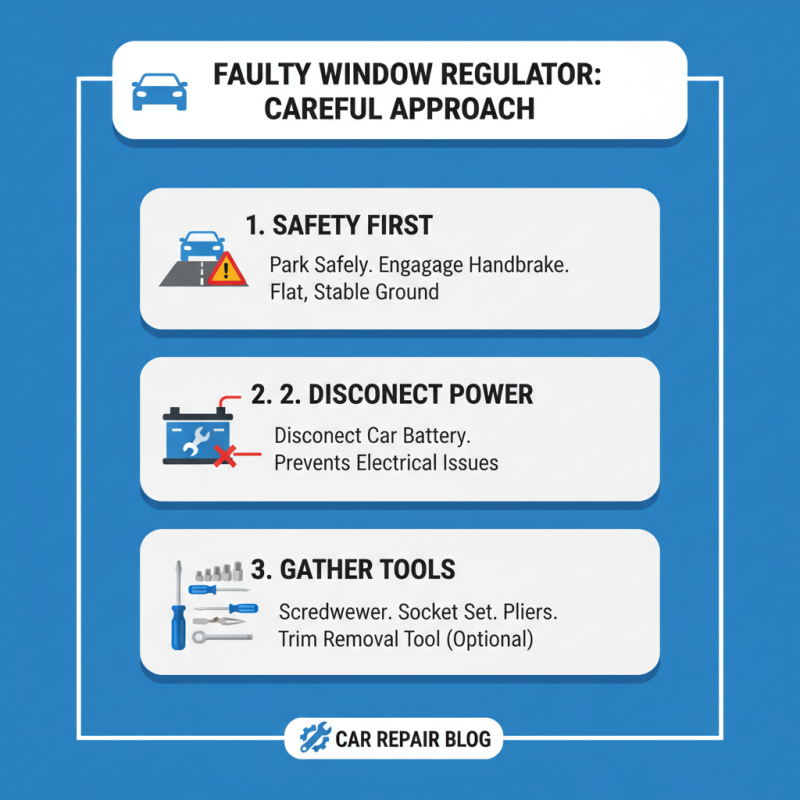
When dealing with a faulty window regulator, a careful approach is essential. Begin by ensuring the car is parked safely. Disconnect the battery to avoid any electrical issues. You’ll need basic tools: a screwdriver, socket set, and possibly some pliers.
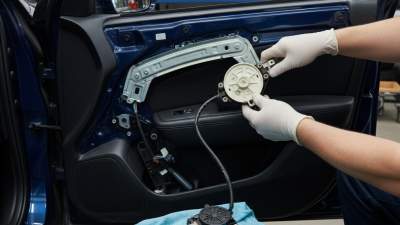
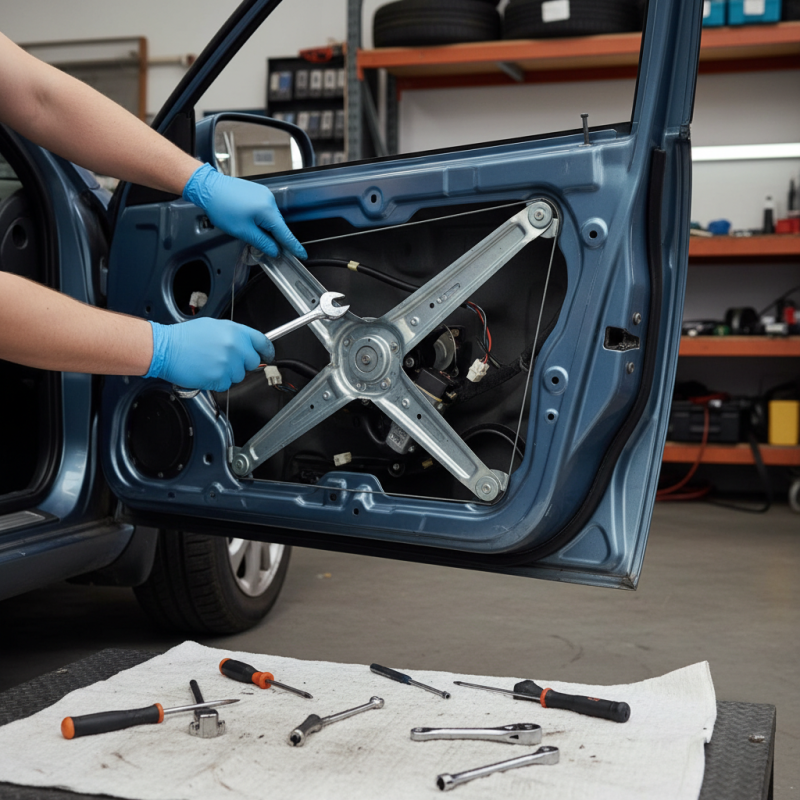
Next, remove the door panel to access the regulator. Be gentle; you don’t want to break any clips. Check for screws or bolts holding the panel. Once it’s off, locate the window regulator assembly. Document how everything connects. Taking pictures can be helpful for reassembly. Remove the old regulator. It may require some wiggling, so don't rush this step.
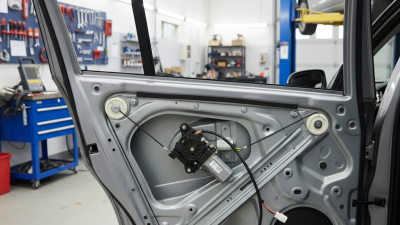
Installing the new regulator is the next step. Align it with the window. Fasten all bolts correctly to ensure it functions well. Reattach the door panel carefully. It's easy to overlook a clip. Finally, reconnect the battery and test the window. Watch how smoothly it operates. If there are issues, recheck your installation. Reflect on any mistakes made during the process. A careful approach can save time and effort.
Post-Replacement Tips: Testing and Maintaining Your New Window Regulator
After replacing your faulty window regulator, it’s crucial to test and maintain the new component effectively. Start by rolling the window up and down several times. Listen for any unusual noises. Smooth operation is key. If it feels sluggish or hesitates, something could be wrong.
Tips: Always check the installation. Loose screws can lead to future malfunctions. Ensure that the wiring is secure and correctly routed. It’s easy to overlook these details in a rush.
Maintenance is equally important. Regularly check the window for any obstructions in the tracks. Dust and debris can affect movement. A few minutes spent cleaning can prevent significant issues later. Keep an eye on how the window behaves in various weather conditions. Changes might indicate a problem.
If your window struggles, reflect on your previous installation. Was there a step you may have rushed? It’s worth re-evaluating your work. Taking the time now can save you from future headaches.
How to Identify and Replace a Faulty Window Regulator in Your Car? - Post-Replacement Tips: Testing and Maintaining Your New Window Regulator
| Step |
Description |
Tools Needed |
Post-Replacement Tip |
| 1 |
Identify the symptoms of a faulty regulator (e.g., window won’t move). |
None |
Ensure the window is fully down before replacement. |
| 2 |
Remove the door panel to access the regulator. |
Screwdriver, Trim removal tool |
Keep screws organized for easy reassembly. |
| 3 |
Disconnect the old regulator and remove it from the vehicle. |
Wrench, Socket set |
Verify that the power connection is secure before plugging in the new regulator. |
| 4 |
Install the new regulator and reconnect it. |
Wrench, Socket set |
Double-check all connections and mountings before replacing the door panel. |
| 5 |
Test the new regulator to ensure proper operation. |
None |
Operate the window several times to ensure it functions smoothly. |
| 6 |
Reassemble the door panel. |
Screwdriver |
Ensure all clips are properly seated to avoid rattling noises. |